text

The rock and ice mechanics lab at Lamont-Doherty is led by PIs Christine McCarthy and Ben Holtzman. Now, more than ever, we are in the process of growing our lab and building our experimental program. Along with a team of postdocs, undergrads, grads, techs, and longtime staff engineer Ted, we are rehabilitating and revamping some of the old equipment and building and buying new rigs for exciting new experiments on both rock and ice. You can follow along with our progress here.

Friday, 15 June 2012

Fault Paleothermometers, aka the smelly oil-making experiment

Exciting stuff happening this week in the rock mechanics lab. My aluminum plates for the ice rig arrived today so I started marking up the center lines and worked on my design to figure out precisely where we will drill holes for the tie rods.

MEANWHILE Heather, Rachel, and Pratigya have been making great strides in their paleothermometer project! 

The idea for the study is that certain organic matter can be used as an indicator of temperature. With time and temperature, particular organics go through known reactions. The reactions can only go one way, so the altered material captures the peak temperature, even after things cools down. During an earthquake, fault rocks are believed to get pretty hot from frictional heating, but the extent of this has not been well constrained. Heather and Pratigya came up with the idea that if they can analyze the thin layer of sedimentary rock in the middle of the fault zone to look for specific altered organic material, this will tell them the temperature range that the fault experienced. For a better description of the project, check out this cool TED-style talk they gave at a Lamont community seminar. Before they can really start analyzing the fault rocks, however, they need to establish good reference values. So they are now taking crushed up sedimentary rock and are systematically heating it to known temperatures and durations. Here the team troubleshoots the new rig and starts developing the experimental protocol.
They heat the crushed up rock rapidly (simulating frictional heating in faults) in the tube below (that they call a "bomb") with that heating coil wrapped around the outside. Although the times, temps, and pressures are considerably less than what, say, large reserves of organic material in the earth experience, the initial stages of the reaction are similar to those that create petroleum. Even though they are working with only a teaspoon or so of material, the smell is simply horrendous. It's like being in the middle of an oil refinery. 
They measure the temperature inside the bomb with thermocouples and monitor it with the panel of meters below. The Omega black box underneath is called a data acquisition system (DAQ) and is used to send data to the computer.
Here the undergraduate intern Rachel starts an experiment by turning on the gas while Ted looks on.

Wednesday, 13 June 2012

building a meter panel from scratch

Parts are beginning to come in for the new ice rig. I'm getting excited about putting things together. One thing that I knew I could begin working on while we wait is the electronics to run the rig. We'll have a tower sitting next to the friction apparatus, which will have panels for temperature control, load and position monitoring, signal conditioners for the strain gauges etc. The easiest of these to wire up, in my opinion, is the temperature control. So I started there first. The triax was once used for high temperature work and so it had a panel of thermocouple meters that I could salvage. However, that panel wouldn't fit into my tower, so I had to start from scratch. Here is a pretty piece of painted aluminum specifically made for this purpose (circa 1970 I suspect). First I measured and penciled on my desired cuts,...
...loaded it into the milling machine,...
...and got to work.
I made five squares that will hold the meters, five half-inch holes to hold the fuses, and 10 tiny holes to hold five switches and five blanks (in case something comes up in the future). 

The next step was to fit all those pieces in their places and wire it up. I first wired it up just like it was done before, so Ted could draw me a circuit diagram for the existing set up. Then I could decide what I wanted my rig to do instead and make the appropriate changes. In this case I will have one meter that will control the temperature of the cryostat and the other four will just be monitoring the temperature in various parts of the rig.  I attached all the thermocouples (blue type Ts for low temp work) and Voila!


Tuesday, 22 May 2012

Some lab DIY

While we wait for all the parts to be delivered to make our new ice rig, I decided to do a little lab do-it-yourself work. We had a small section of extra wood countertop laying around from the old tops that were ripped out and so I bought some new legs from my tiny startup fund.
I sanded the counter top to remove the old stains and grooves and covered both sides with wood treatment wax. Then I buffed it smooth. Now I have my own little corner work bench for ice-related projects.
 

Tuesday, 15 May 2012

Ted in the Marianas

Lab renovation was on hiatus this month while Heather and I were diligently working on an NSF proposal and Ted was out at sea. Ted goes out to sea quite a bit. Back in January he joined a multi-University collaboration to deploy a slew of Ocean bottom seismometers (OBSs) in the Marianas. They used this bad boy, the Tommy Thompson research vessel, shown docked at the Guam Navy pier.

I should point out that all of these pictures come courtesy of Doug Wiens of WashU St. Louis, shown below with our own David Gassier and Brent Evers of IRIS. Doug was the lead scientist on the project.

Here the captain of the ship explains how the OBSs should be deployed.

The crew worked round-the-clock deploying the seismometers. Here's our Ted and other Lamonters working the night shift. The crew put out an amazing 85 seismometers in two weeks! Incredible!


Sunday, 5 February 2012

Fancy new load cells

The machine shop finished making us nice cylinders, to which we applied all those strain gauges and wires. Check out that pretty copper-colored patina on the outside. That comes from a successful heat treatment, which locks in the desired hardness. Our old ones didn't have this patina, which may be one indication of why they crapped out on us. We also had the shop make us some hemispherical seats for the load cells. The piece attached directly to the piston has a convex surface and the large visible partner piece has a concave surface. That way, when you apply the load any small deviations in alignment are worked out. Above is a our vertical load cell and below is the horizontal, which applies the normal stress.

Friday, 13 January 2012

Hear-Here: a trip into the past

This week we made a trip to the machine shop on the other side of campus. It was my first time going and was I in for a treat. The purpose of the visit was to place an order with the shop to build us some new load cells and hemispherically seated pistons. We were getting quirky signals from our load cells and suspected that they had been overloaded and damaged. To test our suspicion we popped one into the Rockwell hardness tester to the right. We first had to try a bunch of standards, since we weren't entirely sure the tester still worked. But after getting consistent values with the known standards, we measured our load cell. Yikes!  It was far softer than it should be. Poor baby was broken. Good thing the shop was available to start on some new cylinders. We'll add the strain gauges and wiring to them next week.
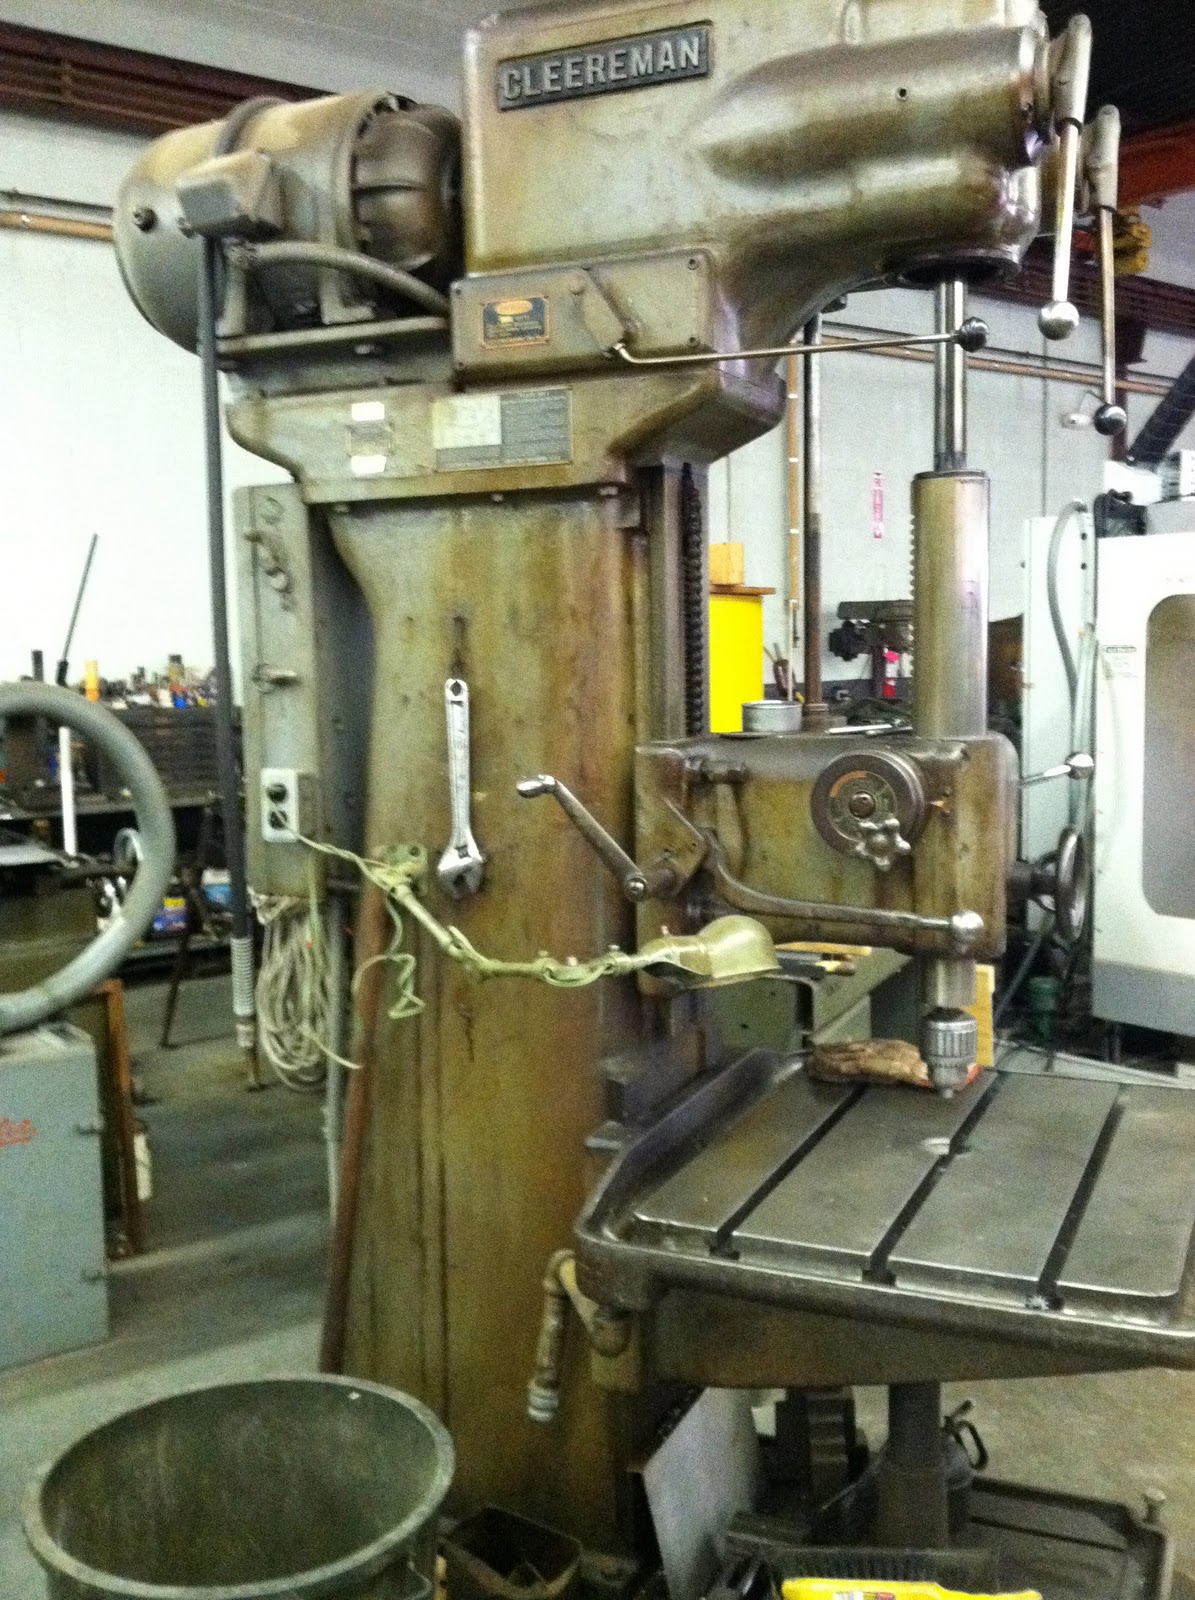
 While we were over there we started poking around at some of the old machines. Check out these ancient drill presses. I think they still actually work. 
But this dirty little phone booth station in the middle of the shop was my favorite. When exactly those notes on the back wall were written probably nobody knows, but I bet they contain every important phone number in the NY and NJ area codes. I wouldn't throw them out either. Some things you just don't mess with. 
Like the Hear-Here.

Monday, 19 December 2011

(mini-) Earthquake!

Ladies and gentlemen, the Biax is now fully operational! We can now make earthquakes in our lab!
The main cause for the delay was this pesky guy below. The chassis is the component that handles the flow of all that data coming from the rig (10 strain gauges, 2 load cells, an LVDT measuring displacement, and anywhere from 1 to 4 transducers measuring the seismic signal) and going to the computer (for immediate feedback) and to the RAID (for short-term storage). Although the data all come in as basic voltage signals, the rate of data streaming for the different components varies, making it difficult, for some reason, to get the optimal combination of cards and cords for the chassis. While I was away, Heather worked with the manufacturer to get us the right combination. The card on the far left gets the signal from the BNC, the card protruding gets the high speed signal from the transducers, and the wide middle card is a built-in RAID. 
It took a little while to get here, but we now are able to load up the sample and, by monitoring the voltage on the LVDT, watch it creep along until we hear the "Crack" and "Pop" of little earthquakes. Success! Now we get to start systematically varying things to be able to predict the onset of the earthquakes and, in particular, try to understand the transitional period that is believed to occur between the creeping and the earthquake.