text

The rock and ice mechanics lab at Lamont-Doherty is led by PIs Christine McCarthy and Ben Holtzman. Now, more than ever, we are in the process of growing our lab and building our experimental program. Along with a team of postdocs, undergrads, grads, techs, and longtime staff engineer Ted, we are rehabilitating and revamping some of the old equipment and building and buying new rigs for exciting new experiments on both rock and ice. You can follow along with our progress here.

Tuesday 1 December 2015

Success!

After the dry run was complete, it was time to move on to the real thing: ice-on-rock. Mike made a plexiglass front to the cryostat so we could watch what was happening and still keep things moderately cold (also thanks to our friends burlap and bubble wrap). Here it is in its "double direct shear" starting position...
...and afterward. We successfully slid ice past rock with an applied normal load (~100kPa)
A toast of champagne to celebrate!
And a paper describing the apparatus is found here.

Monday 30 November 2015

Lab Field Trip 2015

Every year the rock mechanics lab tries to sneak off for one last trip to the field before the snow arrives. This year Mike and Heather put together a plan that brought us up north a bit to the Kingston area. In particular there was a nice fault zone right off the side of the road.


Our second stop was a park overlooking the Hudson, where we ate lunch.

I was particularly excited by the chalk marks, wishing I had some gear with me.


Third stop was this eery mining cave.


Then another place with quartz crystals growing from the veins in the rock.


Final stop was this fault along a river.

 Previous cores had been taken from this fault.


Tuesday 13 October 2015

International Glaciological Society

Last month I renewed my IGS membership and found out I was the 1100th member for 2015! I won a shirt, which I modeled here next to the ice rig. You too can join the International Glaciological Society here.

Thursday 24 September 2015

A dry run

Before we start getting crazy with ice and cold, we want to have a dry run of the apparatus. Can we actually control it the way we want? We loaded everything up in the cryostat, but left it at room temperature with the front panel off and, instead of ice, we placed a piece of PVC plastic as our central slider.

We used some makeshift plastic pistons so as not to potentially harm our expensive ceramic ones.
We manually dialed in our horizontal piston until we got a decent normal load (the panels that say 0.167 and 0.160 are in MPa and are the right and left load cells, respectively).
Then we slowly drove the plastic down through the rock. Plastic is pretty slippery, so we didn't get to very high shear stresses, which made me very happy for a first run. It all worked in a nice controlled manner, with data sent to a computer for later analysis.  No major glitches, so next step: ICE!!


Saturday 19 September 2015

A little nip and tuck

Now that the rig has been placed in its permanent position and the unistrut table has been bolted down to the concrete pier, it's time to address the elephant in the room. Let's talk about that rat's nest of wires.
Yeah I'm talking about you.
First thing we did was to systematically tackle each wire and cut it to the length it needed to be.
Then all the gray component wires (those going to the LVDTs and Load Cells) were tucked into this plastic housing and attached to the back edge of the lower plate. (That the channel housing is the same thickness as the plate was rather satisfying).
Then the wires coming out were wrapped in fancy black plastic. We are talking next level organization here.
Isn't this the tidiest thing you've ever seen?
No need to stop there. The chiller hoses needed to also make a clean profile. 
They carry a methanol/water mixture from the programmable chiller in the next room to the cryostat.
Looking good!


Saturday 12 September 2015

Final adjustments

So we started doing some calibrations in the apparatus and realized we would like it just a bit stiffer. We decided to put another steel plate, this time to reinforce the bottom plate. But we couldn't just slide it in. The horizontal hydraulic piston and the cryostat dimensions were all designed around the current space between top and bottom. Instead we had to lower the bottom piston the same amount as the new the steel's thickness and then slide in the plate. This required us to lift up the whole rig from the top. A mobile hydraulic crane did the trick. 
While we were at it, we reconstructed the unistrut table that the rig sits on. We not only shortened it to account for the rig adjustment, we also repositioned the legs so that they were symmetric. Much prettier. 

Here Mike tightens down the steel plate with an allen. He also built the housing for a lower LVDT (the rounded square on posts beneath the rig) that will measure the position of the sample as it slides.
A spring loaded LVDT will come up through a hole in the plates and cryostat. A ceramic extender piece sits right on top of the spring loaded core and will actually be in contact with the ice.  
At the risk of repeating myself…we're almost there.

Friday 17 July 2015

CIDER 2015

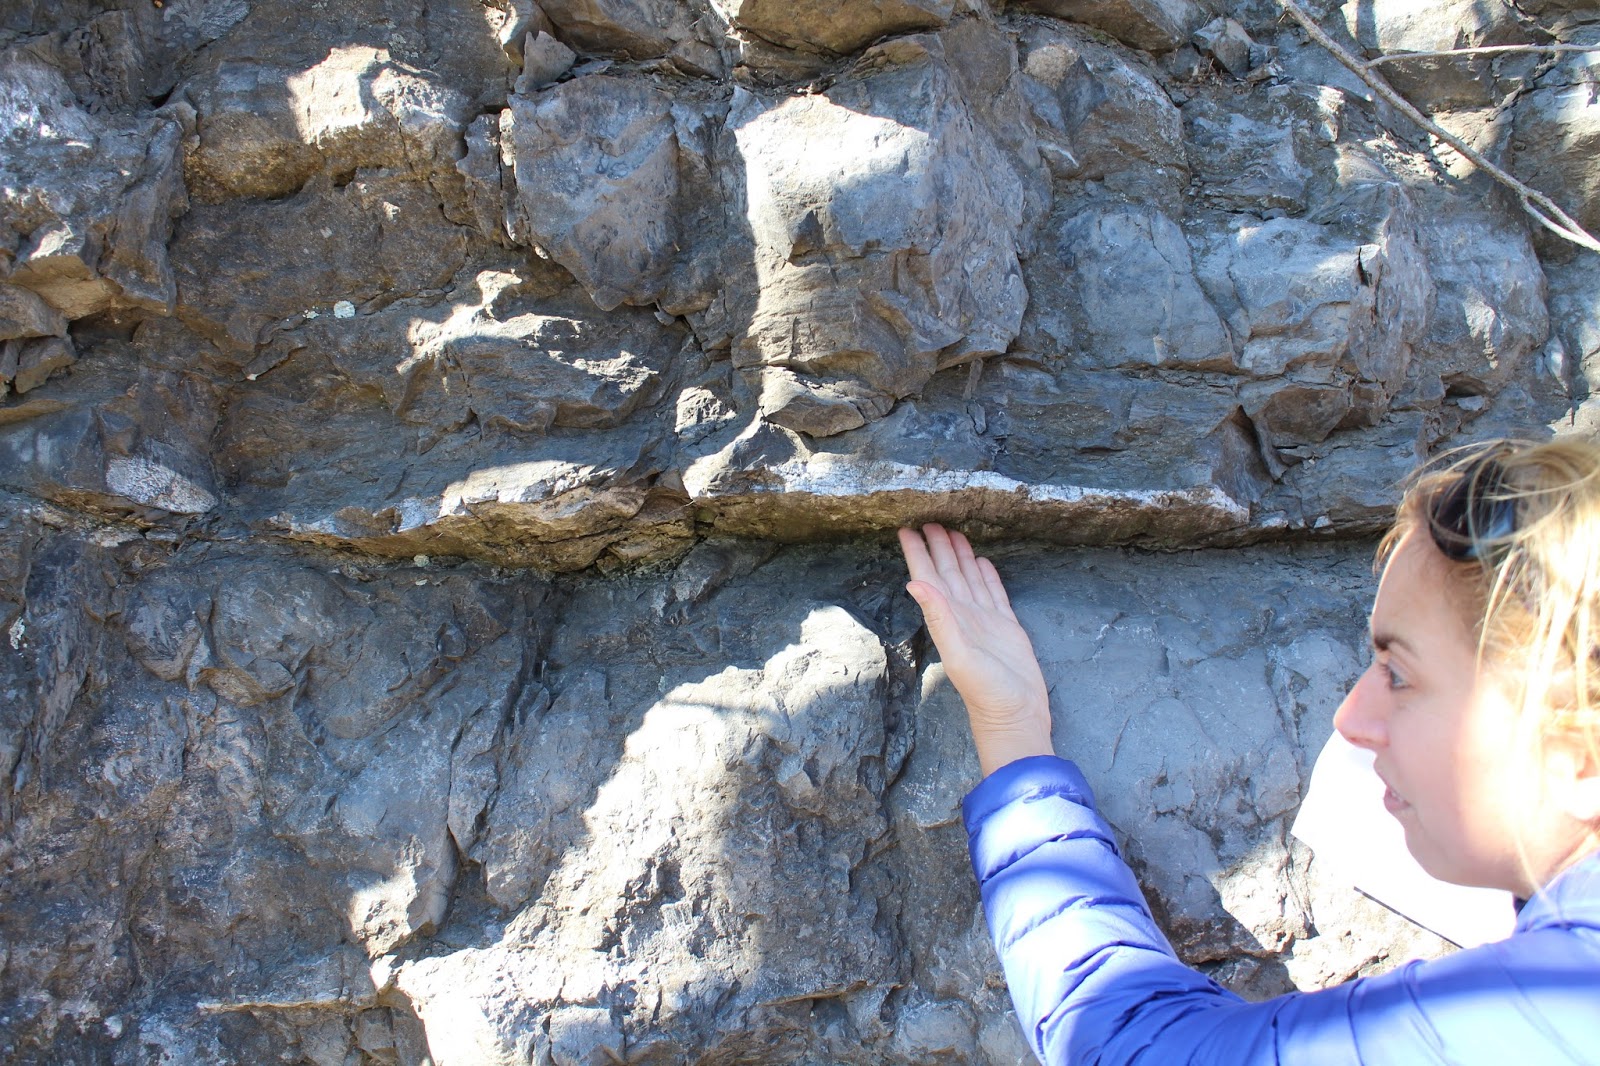
I'm here in Berkeley, CA, at the CIDER summer workshop. We've got a great group of students, postdocs, and guest lecturers in attendance. The topic of the workshop is "Solid Earth Dynamics and Climate - Mantle Interactions with the Hydrosphere & Carbosphere", so we have a broad swath of scientists who study everything from glacial adjustment, paleoclimate, geochemistry, seismology, geodesy, and geology.

I don't know anything about the hydrosphere or the carbosphere, but those "in the know" assure me that the way these components travel through the earth is highly dependent on the rheology of rock. So Uli Faul (from MIT) and I are giving lectures on Rheology, as well as a hands-on rheology tutorial.
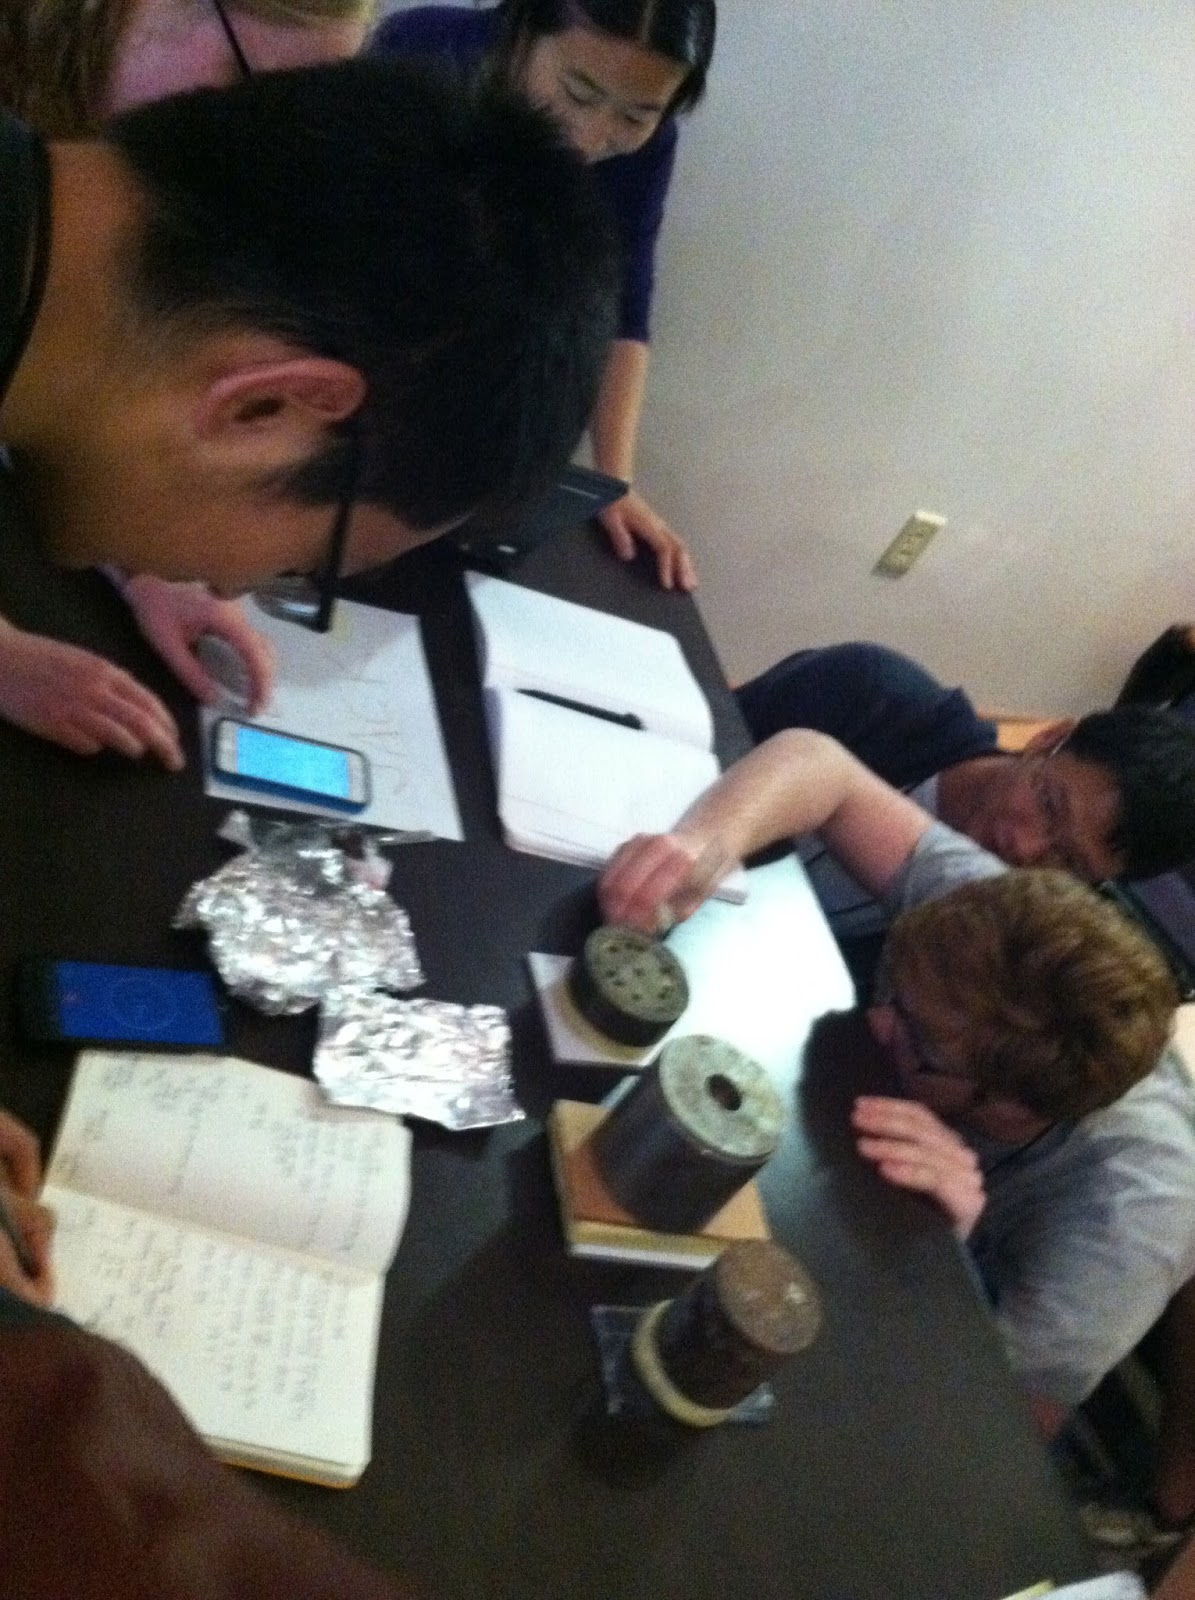
For the tutorial, we decided to let students perform a creep experiment in real time. The students broke up into 3 groups to perform creep experiments on 3 different types of cheese. During the week I went with Michael Manga (from UC Berkeley) to raid his machine shop for different weights to place on top of the cheese. We gave each group 3 different size weights so that, in theory, they could come up with a flow law for their cheese.  Here is Team Havarti. They were unfortunate enough to be given very tall, unstable weights. Despite this, they did a great job of collecting the data as the havarti shortened.
Here is Team Gouda. After unwrapping the classic red wax, they discussed a plan and started measuring. 
And finally Team Jack, with the heaviest weights.
Despite huge error bars in estimating stress (which they had to do by calculating the volume of the cylinder and the density of the metal - but what about those holes?) and uncertainties in measuring shortening with little rulers, the groups came up with surprisingly nice creep curves. Here is my favorite  curve, the one for Gouda at the lowest stress. The team didn't quite capture the immediate elastic response, but they got everything else. At about 1900 seconds, they removed the weight, so that is the relaxation portion of the curve at the right.
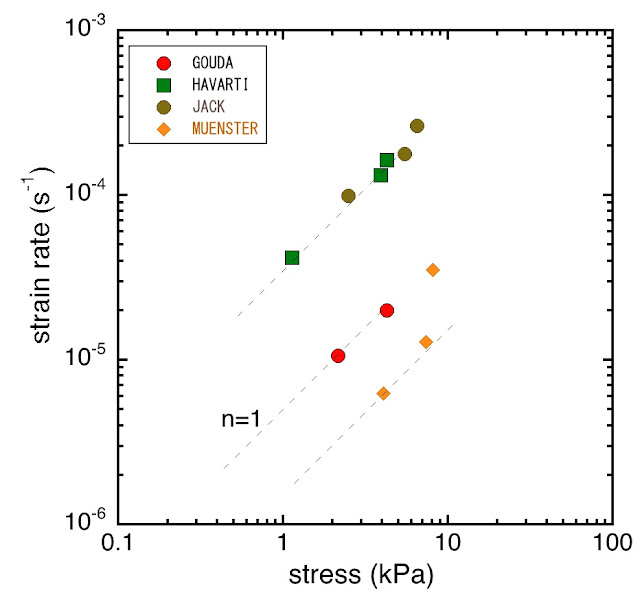
Although it was challenging with so few data points, I estimated a strain rate for every curve that the students gave me. Quite shockingly, the strain rate vs. stress curves were quite nice. I included my muenster data from the trials at home.
The n=1 slope in log-log space indicates that the deformation is Newtonian. If this was a polycrystalline material, I could say that it was deforming by diffusion creep. However, in the case of cheese, it has to do with proteins and fats and I really have no idea what is happening at the microstructural level. But the curves are nice. Great job everyone!


Friday 26 June 2015

Getting ready for CIDER

Next week I will be heading to Berkeley for the CIDER meeting. I've been asked to give a tutorial and lecture on the subject of rheology. For the tutorial, I want to let the students perform a creep experiment in real time. Rock and ice would each take too long to deform and would be a hassle to maintain at the right conditions. However, Ben Holtzman reminded me that cheese could be a perfect medium for a one-hour creep experiment. This week I want to give it a dry run or two, to make sure I can work out all the kinks.  
Following our usual philosophy of experiments, I cut out various samples of Muenster and Gouda with a width to length ratio of roughly 1 to 3. 
 I found small cubes and rectangles of aluminum in the scrap drawer and placed them on top. Crash! Not only did the tiny aluminum not have enough heft to start any deformation, this configuration was completely unstable. They all tipped over. Back to the drawing board.
 This time I will make the samples wide and short and I will get much denser metals for the weights. First I make sure to get all the dimensions of the cheese. The initial height will be used to calculate the strain as the cheese shortens. The contact area of the block on top of the cheese (I tried to make them the same size) will be used to calculate the applied stress.

Okay - this configuration works much better. The two brass pieces on the muenster weren't totally stable, but they still did the trick; despite their leaning to the side for half the experiment, we were still able to get a good creep curve:
 Look out CIDER, here I come! (but now how am I going to lug all these weights in my suitcase?)

Monday 1 June 2015

Improving the apparatus stiffness

Now that the cryo-friction rig is finished, we are running through a litany of calibrations and tests using standard materials. During this process we realized that the stiffness of the rig needed improvement. Our 1" thick aluminum top plate was deflecting a small amount with large load. Even though that load is probably bigger than our usual load will be, we still want a very stiff apparatus for friction experiments. So we have added a 3/4" steel plate to the top, between the plate and the piston.

We bought some pieces to act as spacers and square washers to clamp down on the plate using the existing nuts and tie rods.
But the pieces that we ordered weren't the right size, nor even uniform in size. So we had to cut and then sand them all down. New undergraduate intern, Channing, helped with this process. First he carefully sanded each one on the belt sander, measuring after each sand.
And then he installed the pieces and washers to the rig. I can't wait to see the improved stiffness measurements!